Friday, March 29, 2013

Deep Dish Peach Berry Pie


Every once in awhile, I get a craving for pie. And when I get a craving, it doesn't go away until I get some pie.  No other dessert can satisfy me in its place.  I've made many pies and usually stick to the same recipes, but this time I felt like doing something new.  Something different.  Something deep. 


After defaulting to the same pie dough recipe for years, I decided to step outside of my comfort zone and try this one, and I am soooooo glad I did! I have never worked with such easy dough! This is my go-to pie dough recipe from now on for sure! The pie dough and filling both weren't too complicated, either.


My trick for pie dough is to use a cheese grater on the butter, then put it in the freezer for a little while before mixing it in the dry ingredients and water


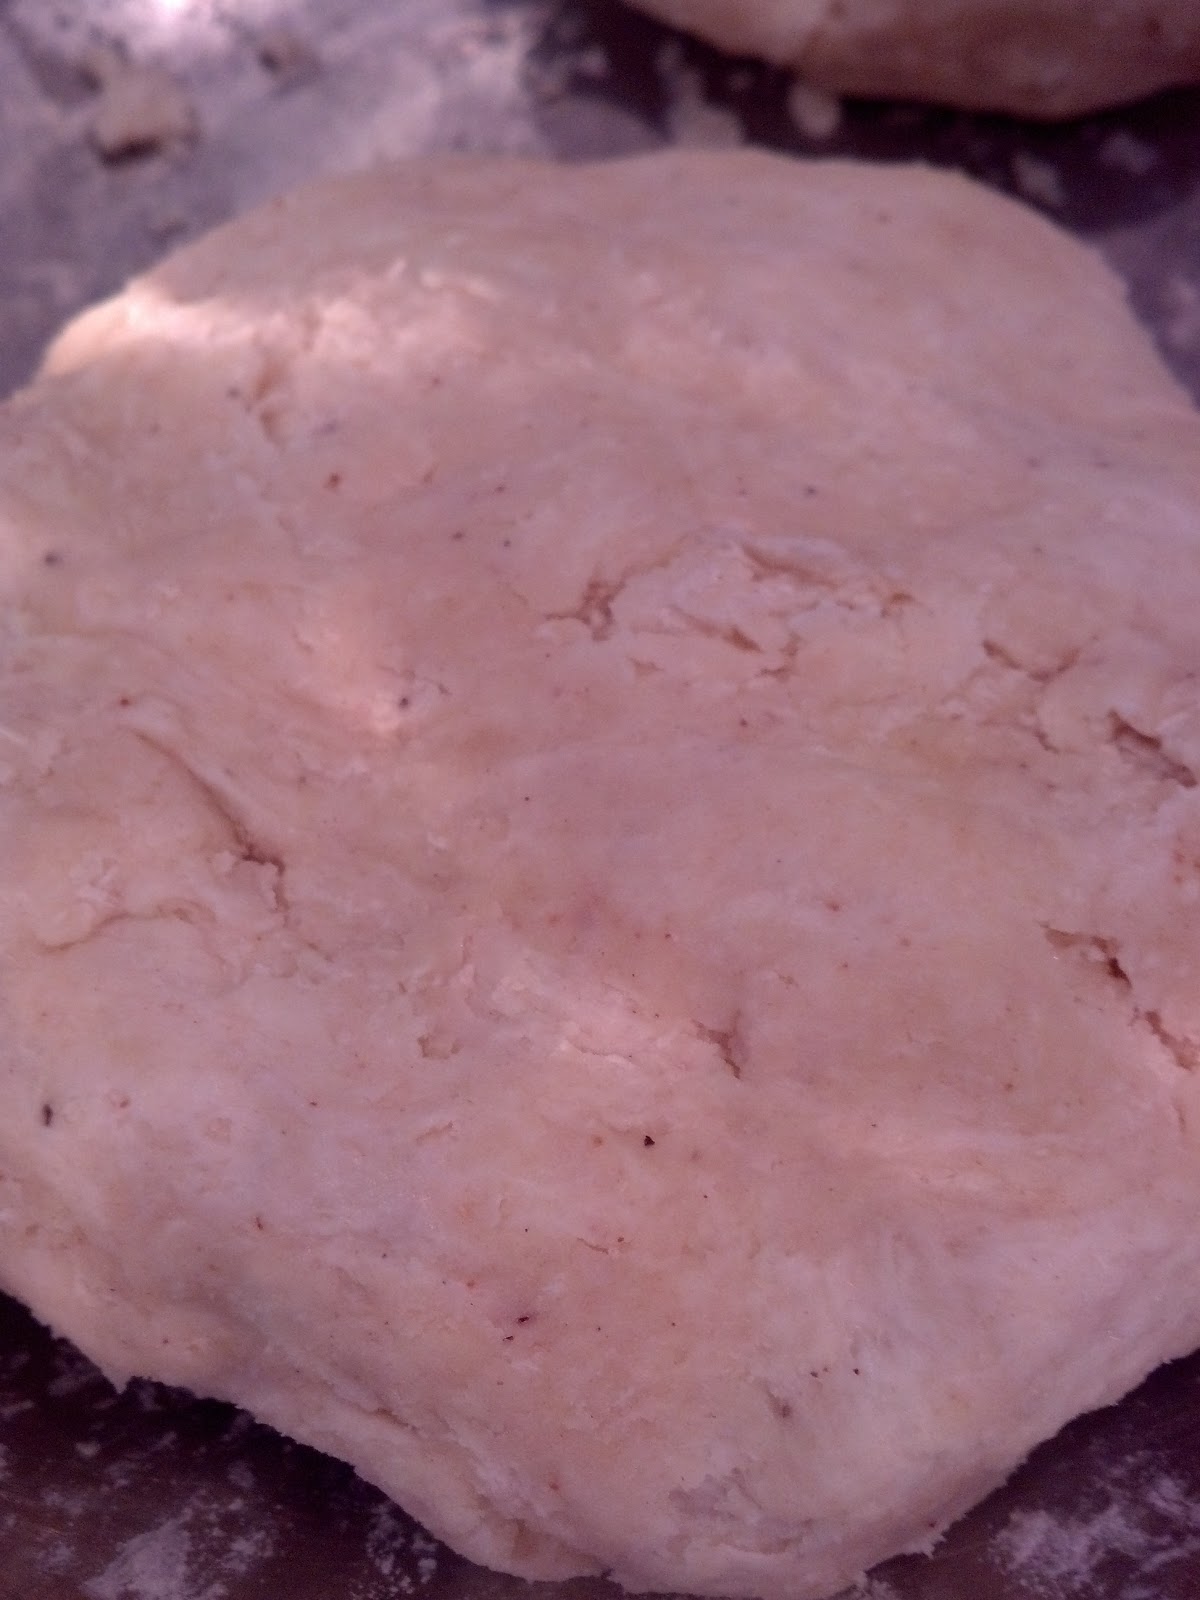
Knead, knead, knead. Then separate 1/3 of the dough from the rest, form both into round mounds, wrap in plastic wrap, then place in the fridge.  Make your pie filling


In a medium bowl, mix together the dry ingredients


In a separate bowl, whisk together the whole eggs and egg yolks


Add the buttermilk and eggs to the dry ingredients


Then add the lemon juice, vanilla,  grated lemon peel, peaches, strawberries, and blueberries.  Set aside


After pre-heating the oven and greasing a springform cake pan, take the larger mound of dough out of the fridge and roll it out on a floured surface


Transfer the dough to the pan.  I find that the easiest way to do this is by wrapping the dough around the rolling pin, then lifting it onto the pan


Ta-daa! Pie dough blanket! This dough is super flexible--not a single rip


Gently press the dough against the sides and bottom of the pan, then cut off the excess dough


Pour in the filling


Take the smaller round of dough from the fridge and roll out.  I used a small cookie cutter to make flower shapes for Easter, but use whatever you like


Use the wrapping technique from before to lift the dough onto the top of the pie.  Be careful not to stretch the dough in the process


Cut off excess dough, then press the edges of the crust together.  Don't let the edges hang over the side of the pan, or else you won't be able to unhinge it after baking. If you want, brush on a mixture of egg yolk and cream to give it a golden top


Bake the pie on top of a cookie tray to catch leaks


I baked the flower cut-outs on the cookie tray alongside the pie, removing after about 20 minutes.  I had some extra dough that I ended up freezing, but you could use the rest to make extra shapes


The cake pan unhinged flawlessly


I placed the flower shapes back on the pie for decoration.  I would've baked them on the pie this way if I had known the dough wouldn't spread, but since this was a new recipe, I wanted to be safe


Best served with some vanilla ice cream!


Deep Dish Peach Berry Pie

Ingredients:

Crust:

4 cups flour
1/2 tsp nutmeg
1 tsp salt
3 tbs sugar
1 1/3 cups butter, grated and cold
3/4 cup cold water

Filling:

4 eggs, whisked
3 egg yolks, whisked
16 ounce bag frozen peaches
16 ounce bag frozen strawberries
16 ounce bag frozen blueberries
1 cup buttermilk (or alternatively, place 1 tbs vinegar in 1 cup and fill up with milk to make your own)
2 tsp vanilla
2 tbs lemon juice
1 cup sugar
3/4 cup corn starch
3/4 cup flour
1 tbs grated lemon rind
1 tsp salt
1 tsp cinnamon
1/4 tsp ground cloves


Directions:

1) Make crust. Grate butter into a medium bowl and place in freezer for about 10 minutes.  In another bowl, mix together flour, sugar, salt, and nutmeg. Add in butter, then water. Mix with your hands until dough is blended. Separate dough into a 2/3 mound and a 1/3 mound, wrap both in plastic, and place in fridge.

2) Make filling.  Whisk eggs and egg yolks together in a small bowl.  In a separate bowl, combine sugar, corn starch, four, salt, cinnamon, and cloves.  Add whisked eggs.  Then add buttermilk, vanilla, and lemon juice.  Then add grated lemon rind, peaches, blueberries, and strawberries.  Set aside.

3) Preheat oven to 350* and grease an 8 inch springform pan.  Remove larger mound of dough from fridge and roll out until it is about 1 cm thick, then transfer to cake pan and mold to pan.  Cut off extra dough.  Pour in filling.  Remove smaller mound of dough from fridge and roll out, then cut shapes with a cookie cutter.  Tranfer to top of pie, cut excess dough, and press edges of crust together.  If you want, whisk an additional egg yolk in a small bowl with 1 tbs of cream, then brush onto the crust to give it a golden color after baking.

4) Bake for 25 minutes, then wrap the edges of the pie with tin foil to prevent burning.  Cook 30-45 minutes longer, or until it is done.  Let cool a couple hours, then remove the sides of the pan. Enjoy!

Thursday, March 21, 2013

Bacon and Cheese Stuffed Rolls


Stuffing rolls seems to be a trend right now.  I am very ok with trends that involve bread and cheese.  


It's pretty simple--open a package of refrigerated rolls (I used the flaky Pillsbury rolls).  Press each one down, then add a few chunks of cheese.  I did mozzarella for half, then cheddar for the rest.


Oh, and I added some of this as well...


Seal the bottoms


Brush on your butter, then your dried herbs, then more butter. Oh and parmesan cheese and more butter


Bake until golden.  Be careful not to overcook the bottoms


Pure heaven


Bacon and cheesed stuffed rolls

Ingredients:

1 can Pillsbury flaky buttermilk biscuits
2 tbs melted butter
Parmesan cheese
Your favorite block cheese *however much you want to add! I used a small block total*
Bacon *again, amount depends on you. I used about 2 pieces for 4 rolls*
Italian seasoning

Directions:

1) Preheat oven to 350*.  Fry your bacon.

2) Press down each mound of biscuit dough.  Add chunks of cheese and bacon.  Seal the dough at the bottom and place on baking tray.

3) Melt butter then brush onto rolls. Sprinkle on seasoning and parmesan cheese.

4) Bake for about 15-20 minutes.  I brushed on more butter at the end.

Enjoy!


Tuesday, March 19, 2013

Green Tea Cake with Sriracha Lollipops


Every year I attempt to outdo last year's birthday cake for my boyfriend.  Two years ago it was a simple cake from my retail bakery days and last year it was a coke cake.  This year when I listed off flavor options, he was intrigued by the idea of a green tea cake.  I've wanted to make a green tea dessert for awhile now, but this was unfamiliar territory for me.


Spent hours searching online where to buy matcha green tea powder and finally settled on nuts.com.  I even got a free sample of dried persimmons with my shipment! Then I was ready to play ;)


Mixing in the matcha powder with the dry ingredients


The batter took on a pretty, subtle green color


Well, balls.  Somebody switched out my green cakes for yellow ones! 


Even though the green color didn't remain through the baking process, the cakes puffed beautifully and were moist.  If you want your cakes to look green, add a little green food dye to help them along


Pretty green whip.  I added a few squirts of dye to emphasize the green


All frosted


Now the fun part.  I made sriracha hot sauce lollipops for decoration.


Drizzled the hot mixture over lollipop sticks on parchment paper for fun designs


Now, I made the lollipops mostly for laughs, since my boyfriend loves spicy things.  I initially thought about making a batch of alcoholic lollipops for decoration.  Next time! After seeing sriracha lollipops sold online, I searched for a recipe, and to my surprise they didn't end up tasting bad.  If you like sriracha sauce and candy, I recommend trying the recipe for something fun.  

With that said, green tea and sriracha don't go together at all though, so if you make them for this cake, I recommend eating them separately.


The subtle light green color of the frosting mixed with the orange of the lollipops complimented each other very well


Removed the lollipops for easier cutting :)


Green Tea Cake with Sriracha Lollipops

Ingredients:

2 cups cake flour
3/4 cup sugar
1 tsp baking soda
1 tsp salt
6 tbs matcha green tea powder
1 cup vegetable oil
3 eggs
1 cup plain yogurt
2 tsp vanilla

     For the frosting: 

2 cups heavy whipped cream
2-4 tbs powdered sugar (taste and add more if needed)
4 tbs matcha powder

    For the filling:
4 ounces cream cheese
1 tsp vanilla
1 tbs milk

1 cup powdered sugar
4 tbs matcha powder

   For the lollipops:
Followed this recipe, other than the end design:
http://www.sprinklebakes.com/2012/06/sriracha-lollipops.html


Directions:

1) Preheat oven to 350*.  Grease two 9 inch cake pans, place two circles of parchment paper in each one, and grease those. In medium bowl mix dry ingredients together.  

2) In another bowl, beat together the sugar, oil, eggs, and vanilla.  Add the flour mixture and yogurt, alternately.  Pour batter into pans.

3) Bake 15-20 minutes (I did 20 and they were more than done).

4) Make your frosting.  Using a mixer, whip the heavy cream until almost stiff.  Add in matcha powder and powdered sugar, to taste.

5) Make your filling.  Cream together powdered sugar and cream cheese.  Add matcha powder, then the rest of the ingredients.


Friday, March 15, 2013

Chocolate Fudge Overload Cake


Yesterday, I had the daunting task of making a birthday cake for my brother.  You see, he has never been a huge cake fan, but my mom felt that a cake was necessary.  When I asked last week what kind he wanted, his eyes did not light up with enthusiasm over the possibilities.  In fact, he was busy playing on his computer, and didn't even look at me as he shrugged.  "Um, chocolate."

I then proceeded to cry all the way home because my little brother does not have a love for cake like I do.

But the cake wheels in my brain started spinning, and I began scheming a cake that even he would like.


Being as chocolate cake is so classic and basic, there are tons of recipes claiming to be "the most chocolatey," "the fudgiest," and "the best." Since I have not shut myself in my house to try out every existing chocolate cake recipe likes these people have, I can't make that claim.  However, considering this cake came out so rich that even I couldn't finish my piece, I'll leave it to your judgement how this recipe compares to others.  While most chocolate cake recipes call for cocoa powder, this one integrates melted chocolate squares.  What truly makes it a chocolate-lover cake is that I made a batch of fudge for the filling.  Not fudge frosting. Actual fudge.


I started off by greasing a 9 inch cake pan, cut out a circle of parchment paper, placed it in, and greased that as well.  I have found this to be the best technique for preventing cakes from sticking.  It also gives the top of the cake a nice, smooth surface.


This stuff works well, but use whatever flour and chocolate you like


Melting the chocolate in a sauce pan


And here's the chocolate, all melty.  This is what makes the cake so rich!


 I wish I knew how bloggers get those cool pictures of themselves pouring things, into other things.  I need a picture assistant or something!  Taking pictures while pouring is ridiculously hard (and dangerous work)! But here is me attractively slopping the chocolate into the sugar/butter/egg yolk mixture :) 


After integrating the flour mixture, the batter comes out super velvety


Time to get baked!


And, out of the oven.  This cake comes out super fluffy


 Flip that bitch over onto a plate or cake board. Remember how I said that using parchment paper makes a smooth surface? Get ready for it...


Ta-daa! Look at that gleaming Instagram quality! But really, parchment paper and cakes are best friends. Seriously

I used a cake leveler  to cut the cake in half (bought one for cheap from Wally-world) and it is the way to slice cakes.  I used to use a knife, but this is way easier.  I highly recommend getting one. Just make sure you let your cake cool first or else you'll have a lot of crumbs--I'm bad and didn't wait, but not too much harm done.


Okay, here's where things get intense.  If you'd rather use chocolate frosting for the filling, just do a batch and a half of the recipe listed later.  Part of the reason I did fudge is because my brother likes fudge more than cake, so I figured a layer of that would gain a positive reaction from him.  Also, I happened to have several of these fudge kits to get rid of--got them for 1 buck each during a sale! But pairing fudge and cake was definitely a good idea.


I followed the directions on the box, then poured the fudge into a 9 inch cake pan also lined with parchment paper.  Now, I didn't put all of it in the pan.  I'll show you what I did with the extra at the end of this post.  So add all or just some, depending on how thick you want your filling.


Time to stack! Don't worry if the cake layers and fudge fit perfectly together, because no one will notice once you cover the whole thing in frosting, anyway.


Pure naked, chocolate goodness


 Time to get real.  I altered a chocolate buttercream recipe and added cream cheese.  Because cream cheese is amazing.


Layer that frosting on! When I worked in a bakery, we did things like crumb-coating and using quick icers.  Although I have some decorating tools in my possession, I tend to just slop the frosting on.  I start by placing a big glob on top of the cake and using a spatula to press it outward.  Then I start pushing the frosting along the side of the cake and keep going until it's covered.   I used a wilton comb to add some texture to the frosting once the cake was covered.


 I hate using ziplock bags to pipe frosting.  Pastry bags are definitely the way to go, but if you don't want to spend the extra money for them, a ziplock bag will get the job done.  Those things like to rip, so be careful when you're applying pressure.  I was out of pastry bags, so I did some simple, imperfect piping here


Don't worry about it looking perfect--the magical taste of this cake will overpower any imperfections in the design :)


So much chocolate


Thought caramel would make a fun design, so I cooked a batch to the hard crack stage, drizzled it with a spoon onto parchment paper, and broke off chunks


Then picked my favorite chunk and plopped it on the cake.


Added sprinkles too, to give it a little color :)


Happy Birthday Levi!


Chocolate Fudge Overload Cake

Ingredients:

1/4 cup water
2 ounces chocolate
1/2 cup butter
1 cup sugar
2 egg yolks
1 tsp vanilla
1/2 cup buttermilk (or put 1 tbs white vinegar in cup and fill to 1/2 cup mark with milk, as a substitute)
1 1/4 cup cake flour
1/2 tsp baking soda
1/4 tsp salt
2 egg whites
    
For frosting:

1/2 cup cocoa powder
1/2 cup butter
4 ounce cream cheese
5 cups powdered sugar
2 tsp vanilla
3-4 tbs milk (I used cream)

For caramel design:

Follow my recipe here, just take out the maple syrup and bacon.  Cook the mixture to 300* instead of 245*. 
http://batteredandwhipped.blogspot.com/2013/03/bacon-caramels.html


Directions:

1) Preheat oven to 350*. Grease 9 inch cake pan, place parchment circle on, and grease that.

2) Sift flour, baking soda, and salt in a small bowl and set aside.  In a small saucepan, heat water and chocolate until chocolate is melted.  Remove from heat and let cool in the meantime.

3) In a large bowl, cream the butter and sugar.  Beat in egg yolks, then add chocolate mixture and vanilla.  Beat in flour mixture and buttermilk, alternately.  

4) Beat egg whites in a different bowl until frothy (I did this by hand with a fork). Fold egg whites into batter.

5) Pour batter into pan and bake 25-30 minutes.  Once baked, let cool for 10 minutes, then loosen edges with a knife and invert cake onto plate or cake board.

For the frosting:

1) Blend softened cream cheese and butter together.  Add cocoa powder.  Stir in powdered sugar and vanilla.  *This recipe is enough to cover the cake, make a border, and have some leftover frosting to eat :) If you want enough of this frosting for a filling, multiply the recipe by 1.5.*


So, what did I do with the extra fudge? Added red food dye to and poured it into a mini cake pan.  Red velvet fudge ;)


I had a batch of chocolate ganache prepared for another cake, so I poured some on the fudge, then added another caramel design. Gave this one to my roomie :)


And here's a picture of another cake I did the same day--white cake with ganache.  Only one picture because I was in a rush to make a third cake, which I will be posting about soon--Green tea cake with green tea frosting and sriracha lollipop decorations...so stay tuned!